
A few weeks ago I posted on Instagram stories in a bit of a panic. I was getting on a plane in less than 24 hours and needed to do make up for an event. I’m proficient enough at doing make up for video but I knew that a long day in front of camera required a little bit extra. My usual go to is foundation, blush and eye shadow but that isn’t enough for a full day on camera. I’m usually the first to say top class brands like Urban Decay are the way to go. But in this case I had very little time to get to big brand name stores so needed to settle on drug store alternatives.
I asked for a few tutorials to watch first. I found some really great ones that helped me with basic applications and provided me with a list of things I needed to purchase to make it happen. This was my go to tutorial that works so well. Shout out to Dee, That’s totally fetch over on Instagram, for suggesting Laura Lee:
Once I knew what I needed I went back to Instagram Stories and asked for brand suggestions. I received a ton of advice on what drug store make up would work and rushed over to Clicks to stock up before leaving. Kiki, over on instagram, was a Godsend with her suggestions. I purchased a few things – from eyebrow kits (which I think the store helper gave me the wrong colour but regardless) to various setting powders and the like. From the group of products I purchased these are my stand out favourites. I used my “high end” foundation, eyeshadow palette and lipstick. But adding these into my make up routine definitely helped. I also realised after compiling this that they’re all the same brand. Oops.
Primer: Revlon’s Age Defying Youth FX Fill and Blur Primer – R205
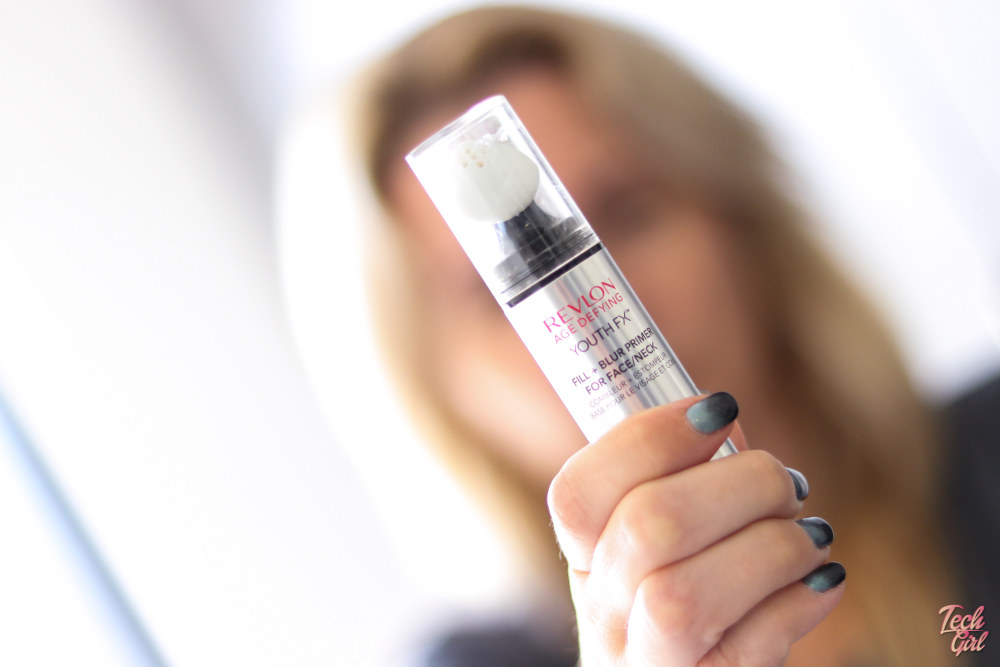
I was a bit dubious changing up primers. I’ve always used the Urban Decay Self Adjusting primer (which comes in at double the price) but I’d run out. You use this before you put on any other make up. I actually really liked this primer. It went on rather moist (sorry for using that word) and felt a bit slimy but settled in the skin well. I also felt it held my foundation really well and created an even tone. I usually get pretty bad make up when I’m in camera make up all day and am yet to have that while using this primer. My only complaint would be that it doesn’t seem to have a lot of product in it. I’m almost finished and I barely use it. So it has lasted just under a month and is maybe used twice a week at most.
Concealer: Revlon Photo ready Concealer – R215

I’ve never used concealer. Ever. Unless a make up artist has put it on my face I’ve never seen the point. But now I get it. When I get tired I get dark circles under my eyes. Nothing major but enough to be picked up on camera. This stick really did the trick. I apply it after my foundation and took some advice from the tutorial above and used it as a mini eyeshadow primer too. It works really well and now I’m not sure how I didn’t use concealer before!
Setting powder: Revlon Photo ready Translucent Powder – R340

This powder was a bit of a splurge but is probably my favourite on the whole list. I think whether you’re a guy or girl you need to invest in this and keep it in your bag if you’re going to be on camera or stream for long periods of time. It is a translucent powder that kills the shine and doesn’t sit like powder. I really liked this and am so glad I now have it. You don’t have to “top up” your make up. Mid way through the day or camera session you can flick some of this on and you’re good to go. However, invest in a better brush. The one that comes with the powder is horrible. Overall though? Definitely worth the spend.
I know this was a bit different to my usual content but as a make up N00b the above products and tutorial really helped me so I thought I had to share. Hopefully it can help you too!
Disclosure: I purchased all the products mentioned with my own cash money.
