
I’d heard of Raspberry Pi before and kind of knew it helped you learn how to code but I’d be lying if I said I knew more than that. I got given one to review and before I could start I had to google “what is a Raspberry Pi”. Because between you and me, opening the box just lead to more confusion. Luckily, the rasperrypi.org website is made for complete noobs. And after checking it out, I felt confident enough to start.
So what is a Raspberry Pi?
The Raspberry Pi is an inexpensive, wallet-sized computer that connects to a screen and uses a standard keyboard and mouse (USB). It allows you to explore computing and learn programming. Raspbian is the Linux-based operating system that Raspberry Pi uses.

Fun fact: it’s called Raspberry because of the old convention of naming computers after fruit and Pi because it was originally only going to include the programming language python.
Here’s what you get in the Raspberry Pi 3 premium kit
 The premium kit comes with a power source, HDMI cable, 16 GB SD card, the motherboard, a case and a cute raspberry pi sticker
SEE ALSO: Why you should get the pi top
Getting started: how to connect the Raspberry Pi so that you can start with the fun stuff
The Raspberry Pi kit came with a 16GB SD card (you need at least 8GB) and this is what you’ll use to install the operating system (OS). Some kits come with OS, raspbian, already installed, and this was one of those. A fact I only discovered after following the instructions below, because I saw that all the files I needed to copy over were already on the SD card. Here’s how to install raspian using noobs.
- Insert the SD card
- Add the mouse, then the keyboard
- Use the HDMI cable to connect it to a screen (I used the TV)
- Connect the power source to turn it on (there is no on/off switch)
- Follow the onscreen prompts to set it up and connect to wifi (you’ll only have to do this once)
If you don’t have a spare screen or don’t want to use the TV, you can use your laptop but you’ll need an ethernet cable. To cut a long story short, I lost 4 hours of a Sunday afternoon trying to get Pi to work on my laptop. After following numerous tutorials and reading countless forums it still didn’t work. So my advice is to have an external screen.

I got that rage that I only get when technology doesn’t work the way I want it to. Luckily nothing was broken. I did, however, learn how to find IP addresses, know what SSH is and realised that forums are really, really helpful.
What can you do with the Raspberry Pi 3?
Once I had set it up, I had lots of fun testing out the different programs. There is an Office suite, you can browse the internet and even play Minecraft. My favourite part is the programs that teach you how to code. You can choose from python-based programs as well as Scratch which lets you code responses and inputs which enables you to light LEDs and sound buzzers.
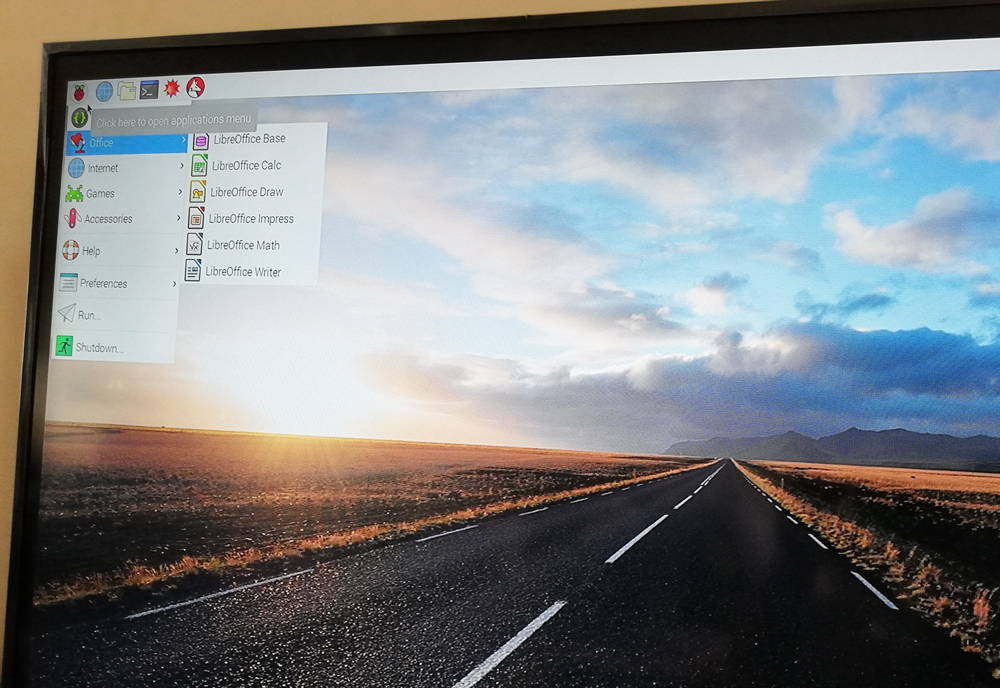 It is very easy to use and you have the option of using the menu or command prompts.
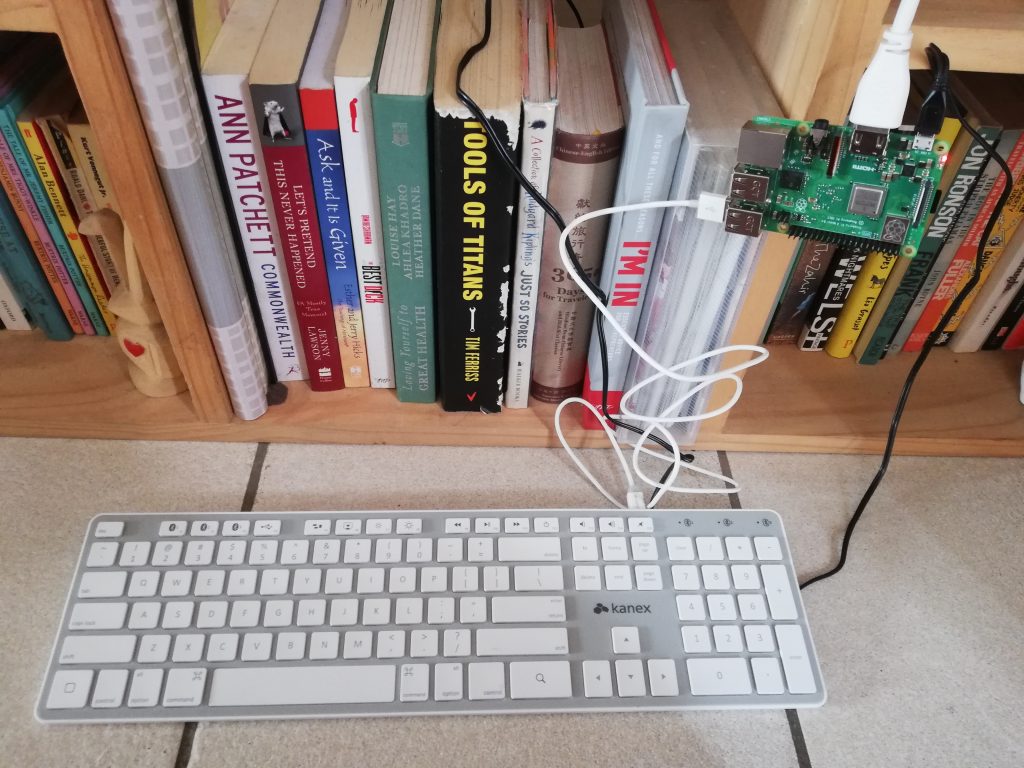 After trying (and failing) to connect the Pi to my laptop, I hooked it up to the TV with a keyboard and it worked like charm. No one ever said the life of a coder was glamorous. #InstaLife?
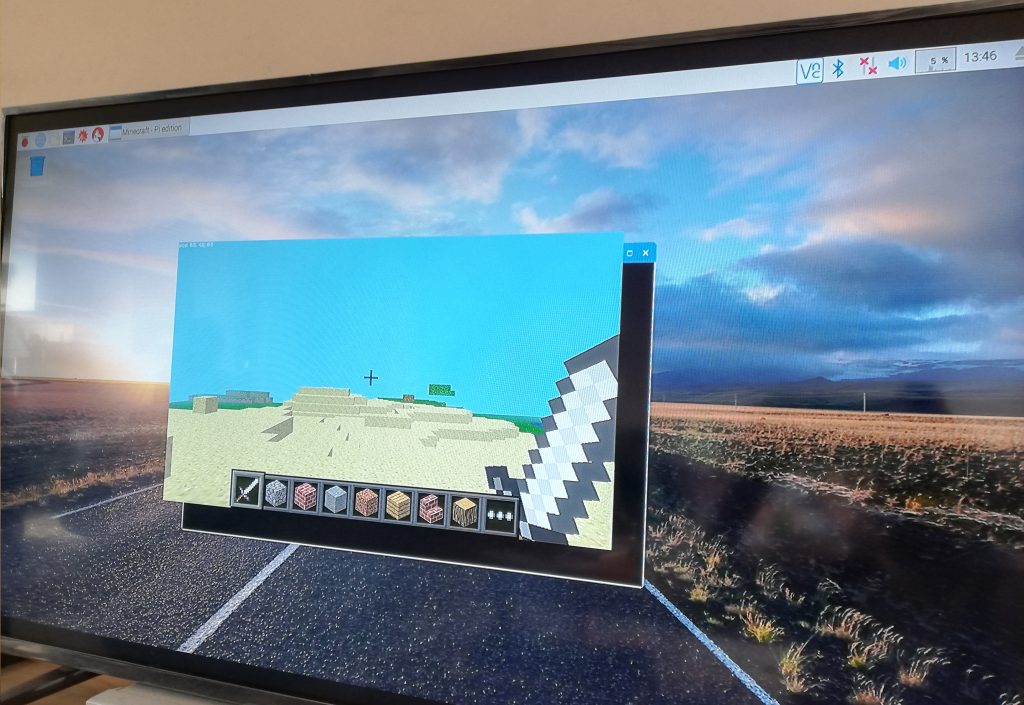
Have a look at the project library, which allows you to search by hardware (including the Pi), software and level. I’m keen to try out the following:
And then it occurred to me I could build a LEGO robot with Raspberry Pi. This will take me a while but I am so keen to try it out. I recently built a LEGO dinosaur and it would be amazing if I could program that, but I’m going to start small. So watch this space.
Now I just need to find a cool spot to stick my Pi sticker, so that those that know will give me the secret oh so you also have a Raspberry Pi nod of approval.
What I love about the Raspberry Pi
- It is an inexpensive way to set up a computer. For under R1000 you can set up a computer or turn your TV into one. Besides the Pi, you can get the screen, mouse and keyboard secondhand.
- Learn how to code by doing fun projects. The Raspberry Pi library has some great ideas if you don’t know where to start.
- It really encourages you to think outside of the box. I am already planning new projects and it encourages you to think about how else you can apply the skills you have learned.
Disclaimer: Tech Girl was sent the Raspberry Pi 3 to review. I get to keep it, so no excuses – the LEGO robot must be built!
